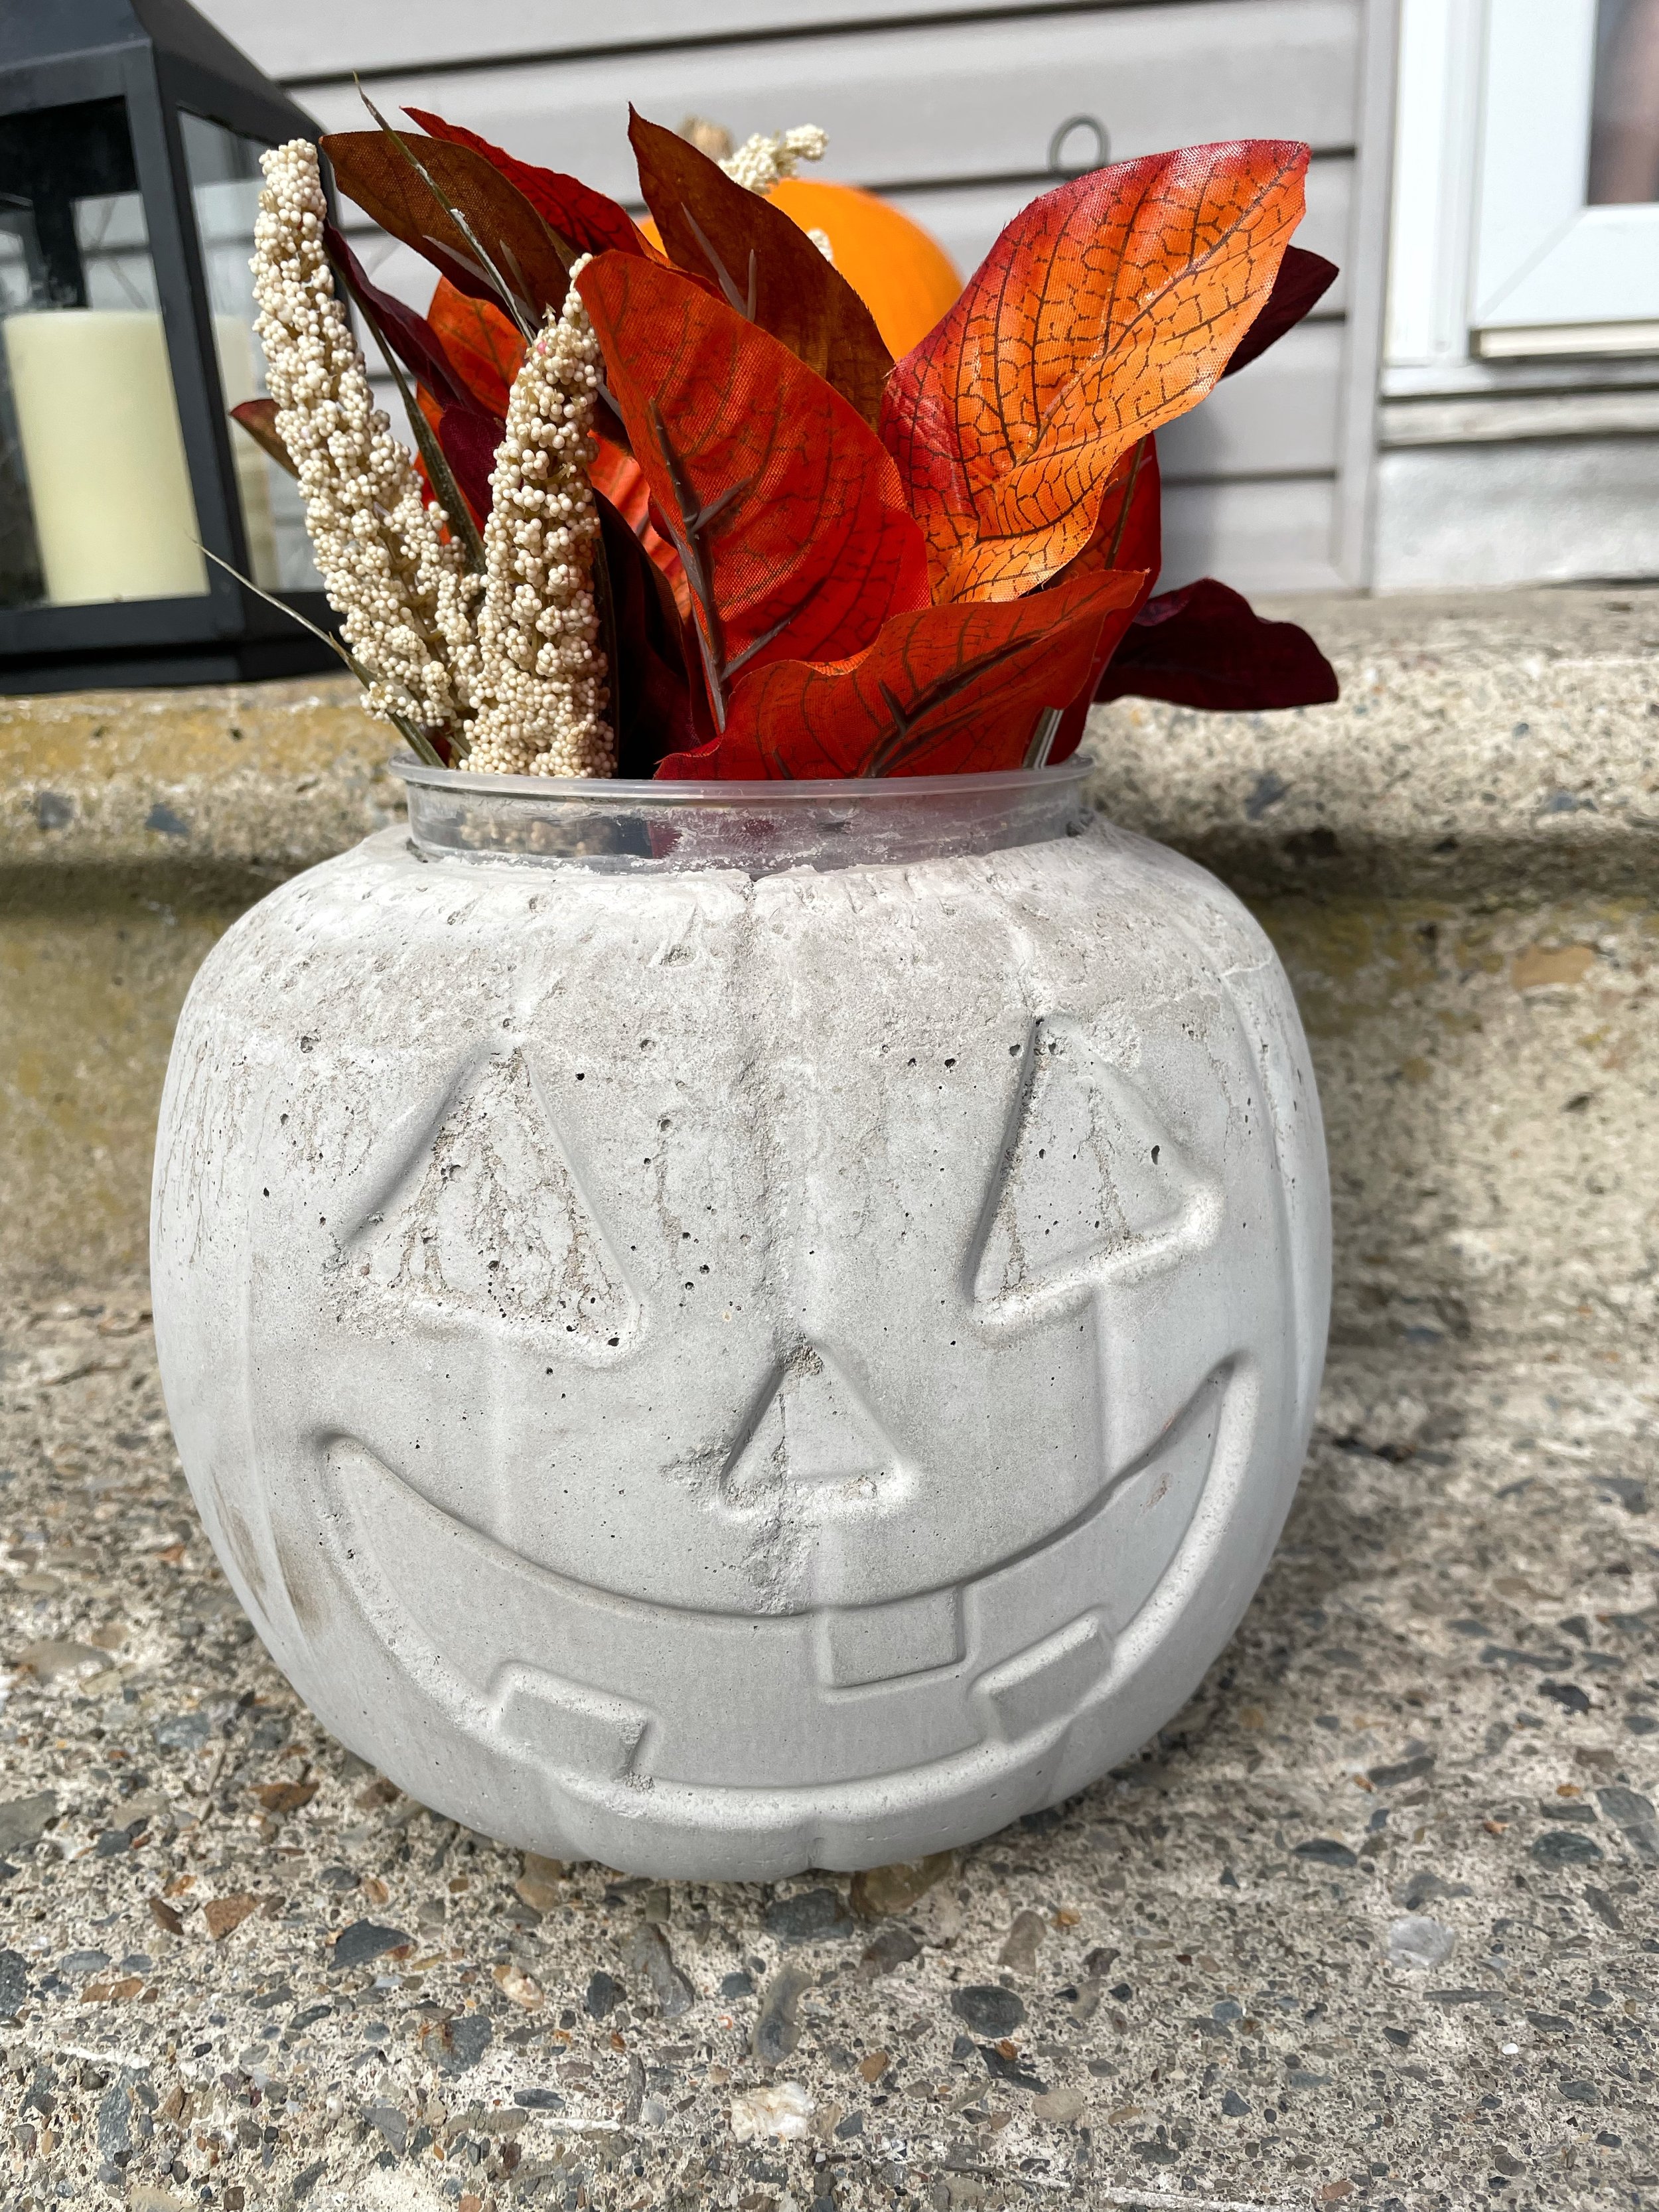
DIY Concrete Jack-o-Lantern Planter!
I began working with concrete last year as a hobby, and grew to love it- and THIS specific project has been in the back of my mind for months!
My original plan was to sell these concrete jack-o-lantern planters on my blog (shop section coming soon), but I can’t find these plastic pumpkin buckets anywhere this year, SO I’m going to show you how to make your own! If you’ve got a spare jack-o-lantern candy bucket hanging around in your basement that you don’t mind destroying, this project is for you!
You’ll Need:
A plastic jack-o-lantern bucket
Something to mix your concrete in. I just used a clear plastic container for this, but a bucket would have been best
Something to mix the concrete with, I used an old fork
The concrete- I use Quikrete 5000 for all of my concrete projects. I sifted out the larger rocks before mixing
A container for the center of the planter. An old yogurt container works great for this
Something to weigh down the center container- I used marbles
Painters tape to cover hold the center container into place while drying
A utility knife to cut the pumpkin bucket off after it dries
A mask, gloves, and safety glasses to wear while mixing the concrete
This project is best done outdoors or in a garage if possible. I did it in my kitchen, and made sure to lay down garbage bags first. I didn’t measure my concrete, I just kept adding more concrete & water until I had a smooth pour-able consistency that wasn’t too watery. If you pour the concrete into the jack-o-lantern and find it’s not enough, just mix up some more and add it on top. The Quikrete 5000 isn’t a fast drying concrete, so it allows more wiggle room for adding more if needed.
Once the concrete is poured into the pumpkin, push the yogurt container into the center of the mold. If you do NOT want to use this as planter/candle holder, leave this step out and you’ll have a solid concrete pumpkin.
Optional: Spray the outside of the yogurt container with pam to help it release easier once you’re done. I did not do this, and my container won’t come out, but I’m fine with that.
You want to make sure the concrete is filling the entire pumpkin. If it’s not, simply remove the yogurt container and add more concrete mix. I had to do this a couple of times to get the entire pumpkin filled. It’s okay if some concrete spilled over the edge, you’re going to be cutting the pumpkin bucket off anyway.
Once the yogurt container is in place, weigh it down with whatever you’d like and tape it down with painters tape. With any concrete project, bubbles will form throughout the piece. To help release some of the bubbles and create a smoother concrete pumpkin, gently shake/vibrate the pumpkin immediately after the painters tape is placed. You’ll see the bubbles rise to the surface and pop.
I let the project sit for about 3 days before cutting off the pumpkin bucket. Since it’s a large project, I wanted to make sure it was 100% dry. Cutting the bucket off too soon could have caused the project to crack or crumble.
I had to enlist the help of Kris for this part becuase I wasn’t able to cut it off on my own. It took a few passes of the utility knife to get through the plastic. Be careful not to cut too deep, or you could scratch the surface of your concrete.
The finished project is a jack-o-lantern planter that can be used year after year! As a bonus, it’s a pumpkin the neighborhood kids wont be able to smash! I left mine as a natural concrete, but you can also choose to paint it. I’m also debating on adding some green moss to mine for a spookier look. Next year if I can find more jack-o-lantern buckets, I plan to make enough to line our walkway. They are really cute with flowers, or you can also use battery operated tealight candles in them.
If I can source enough jack-o-lantern buckets to use as the mold, is this a product you would buy? Let me know in the comments below!
D


